Radiator sludge is a common yet often overlooked issue that can lead to significantly higher energy bills and colder homes during the winter months. If you've noticed cold spots on your radiators, it's likely due to a build-up of this grimy substance, which, if left untreated, can severely reduce heating efficiency and spike your energy costs.
Understanding Radiator Sludge and Its Impact
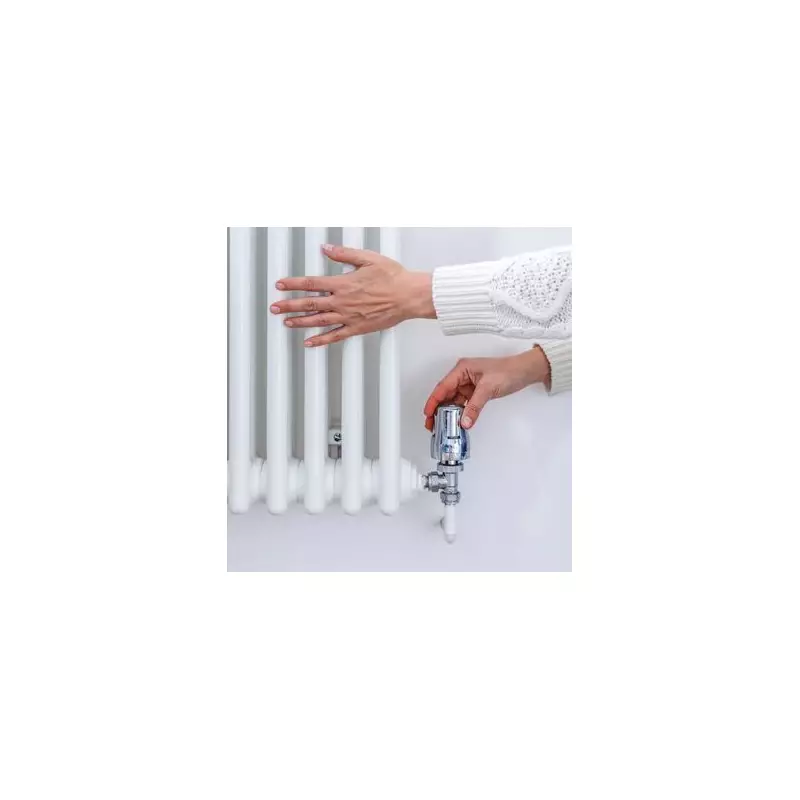
Radiators are essential for maintaining warmth and comfort in your home, especially throughout the chillier seasons. However, cold patches on your radiator—whether at the top, middle, or bottom—serve as a clear indicator that your central heating system has developed a problem. These chilly zones typically arise when water fails to circulate properly due to accumulated sludge.
Without proper intervention, this issue can slash your heating performance, send energy costs soaring, and ultimately harm your boiler. According to Patrick Garner, a Gas Safe engineer and installation manager at Heatable, radiator sludge is the "grimy soup that brews inside your heating system" over time. It's a murky cocktail of corrosion, grime, and debris that gradually chokes your radiators from within.

The Consequences of Ignoring Sludge Build-Up
This muck blocks circulation, forcing your boiler to work overtime just to distribute heat throughout your property. The result is lukewarm radiators, sky-high bills, and a heating system that's crying out for a deep clean. In severe cases, sludge can cause your boiler to drop pressure or shut down unexpectedly, leading to more costly repairs.
Step-by-Step Guide to Removing Radiator Sludge
Patrick Garner has outlined three key steps for eliminating sludge from radiators, helping you restore efficiency and save money.
1. Turn Off Your Heating
Begin by shutting down your boiler and allowing the system to cool for a minimum of 60 minutes. This step is crucial for safety—no one wants burnt hands or waterlogged carpets. If your boiler has been experiencing issues like dropping pressure or unexpected shutdowns, sludge could very well be the culprit.
2. Start with a Simple Bleed of the Radiators
Employ a radiator key to slightly open the bleed valve until you can hear air escaping. This process eliminates trapped air that creates cold patches. Have a towel ready to mop up any spillage. If only air emerges, you've resolved a minor problem. However, if dark, grimy water begins gushing out, that's sludge rather than air, indicating the issue goes much deeper.
3. Manually Flush a Single Radiator (Optional)
If only one radiator is problematic and you're confident with DIY tasks, you can isolate it by shutting both valves, detaching it from the wall, and carrying it outdoors. Connect a garden hose, run fresh water through until it flows clear, and gently rock it to shift any stubborn sludge. Reconnect with care, top up, and bleed once more to eliminate any trapped air.
Bear in mind this approach only works for individual radiators. Patrick cautioned: "If several are affected, stop here as you'll need a professional power flush." In such instances, an engineer will deploy high-pressure equipment and specialist cleaning solutions to purge every trace of sludge from your radiators, pipework, and boiler—safely, efficiently, and without any DIY disasters.
Post-Cleaning Maintenance Tips
After your system has been cleaned, whether through a single flush or professional service, top it up with fresh water and introduce a corrosion inhibitor. This creates a protective coating inside your pipes to stop sludge building up again. Next, bleed out any lingering air, fire up your boiler once more, and relish the sound of a properly functioning heating system.
By addressing radiator sludge proactively, you can enhance your home's warmth, reduce energy consumption, and avoid unnecessary expenses. Regular maintenance is key to keeping your heating system running smoothly throughout the year.