A woman has shared a little-known method for painting garden fences that she claims takes half the time of traditional techniques, leaving DIY enthusiasts amazed at its simplicity and efficiency.
Revolutionary Fence Painting Technique
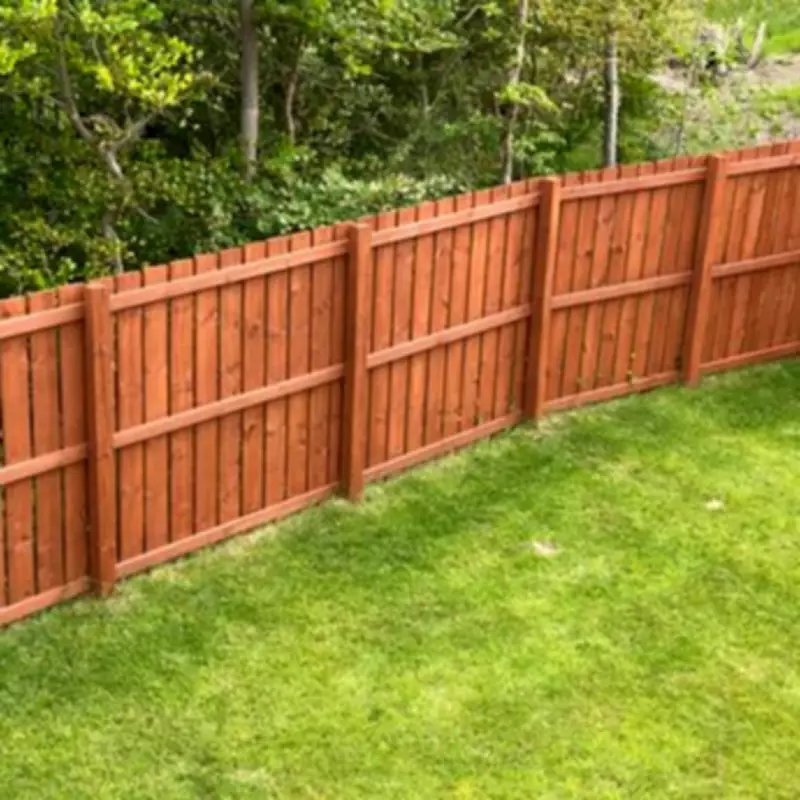
Jodie, who documents her house makeover on social media, demonstrated her go-to trick for transforming new-build fences in a matter of minutes. Posting on her Instagram page @our_newbuild_no5, she used a sponge kit from Home Bargains to change her fence from cream wood to grey, calling it a game-changer for a typically time-consuming task.
How the Sponge Method Works
The sponge she employs is shaped like a trowel, allowing her to reach tricky corners with ease. While this specific item is not currently available on the Bargains website, similar products can be purchased for around £5 to £10 from the retailer, or alternatives are available at B&M or B&Q.

In her video, Jodie explained, "We are midway through a garden transformation and I've been painting my new-build fence in half the time with this sponge kit from Home Bargains. After my last reel, I had to show you the best sponge!"
Reactions from DIY Fans
Commenters on her video were quick to praise the method. One user said, "I use half a car wash sponge. So quick and easy!" Another added, "This looks so, so much easier than using a brush! You might actually inspire me to finally do mine." A third noted, "A sponge is even quicker when painting fences," while one more suggested, "Even faster is a spray gun."
Essential Tips for Painting Your Garden Fence
To ensure a successful fence painting project, follow these expert tips:
- Check the weather: Choose a dry day with mild temperatures and avoid painting if rain or strong sun is forecast.
- Prepare the area: Move plants, pots, and garden furniture away from the fence. Lay down dust sheets or plastic to protect grass and patios.
- Clean the fence: Remove dirt, cobwebs, and algae using a stiff brush. For stubborn grime, wash with soapy water and let the fence dry completely.
- Repair damage: Fix or replace any broken panels or rotten wood. Hammer in loose nails and sand down rough areas for a smooth finish.
- Protect surroundings: Use masking tape or cardboard to shield posts, walls, or plants you don't want painted.
- Choose the right paint or stain: Select a product suitable for exterior wood and ensure the colour complements your garden.
- Use the right tools: For large, flat areas, a paint sprayer or roller speeds things up. Use a brush for edges and tricky spots.
- Apply evenly: Work in sections, painting with the grain of the wood. Apply thin, even coats to avoid drips and runs. Two coats usually provide the best coverage.
- Allow to dry: Let each coat dry fully before applying the next, following the manufacturer's instructions for drying times.
- Clean up: Wash brushes and rollers promptly. Remove any masking tape before the paint fully dries to prevent peeling.
This sponge method offers a practical alternative for homeowners looking to refresh their outdoor spaces efficiently, proving that sometimes the simplest tools can make the biggest difference in DIY projects.