Transform Your Garden with Upcycled Tin Can Planters
As spring weather finally arrives, it's the perfect time to revitalise your outdoor spaces and prepare for blooming flowers. Many gardeners focus on filling containers and tidying borders for a seasonal refresh. However, achieving a stunning garden while being environmentally conscious is now easier with simple, waste-reducing tricks. One particularly ingenious method involves repurposing common household items: tin cans.
The Tin Can Upcycling Hack Explained
Countless households use tin cans daily for products like baked beans, tomatoes, soup, and various groceries. Typically, these empty cans are washed and sent to recycling, but they can serve a brilliant secondary purpose in your garden. Clare Hoops, a DIY enthusiast who shares upcycling tutorials on TikTok, demonstrates how to turn empty cans into charming miniature planters with just a few basic materials.
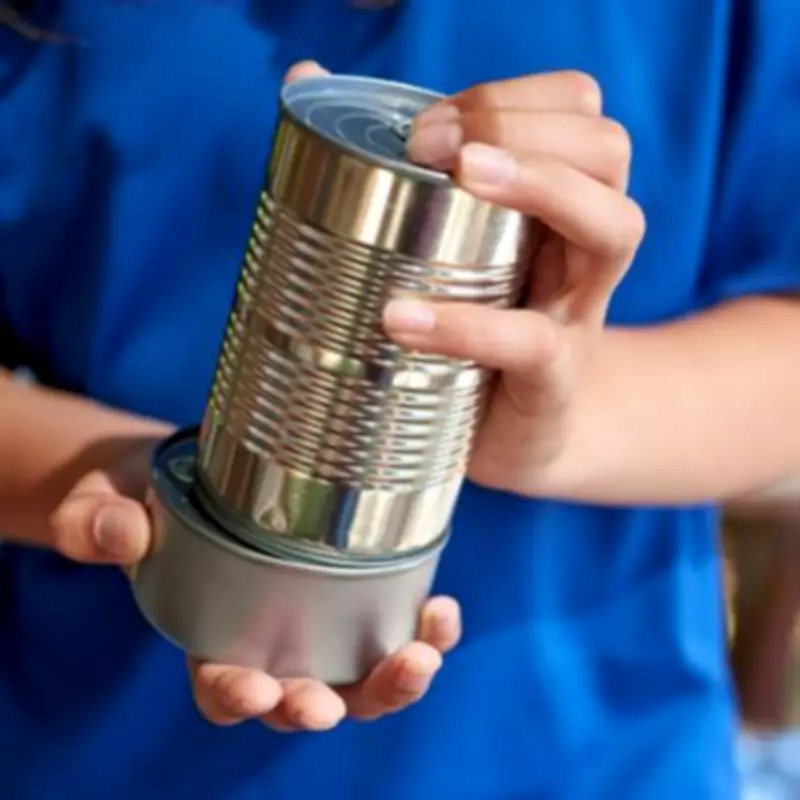
In her instructional clip, Clare begins by using a screwdriver and hammer to create a hole near the top of the tin can, along with several more in the bottom to ensure proper drainage for plants. She then sprays the cans with garden paint in a lovely pale green shade. This not only enhances their appearance but also prevents glare from the shiny metal surface when sunlight hits it.

Once the paint dries completely, Clare threads a cork onto some wire, feeding it through the holes drilled on either side of the can to create a charming handle for lifting the pot. This step is optional for those not planning to suspend their planters. The final touches involve filling the tins with compost and placing plants inside.
Positive Reactions and Practical Tips
Viewers responding to Clare's video expressed amazement at how straightforward the planters were to create. Many pledged to try the technique themselves, while others praised the creative concept. One commenter said, "So adorable!" Another remarked, "Thanks for this idea! I can get tons of these cans for free at work." A third posted, "So cute! I always save cans and have some to get started with this project. Thanks for sharing."
For those inspired to make their own tin can planters, here is a step-by-step guide:
- Clean the can: Wash the tin can thoroughly, remove any labels, and dry it completely.
- Add drainage holes: Turn the can upside down. Using a hammer and nail or a drill, carefully punch three to five small holes in the bottom.
- Decorate (optional): Paint the outside of the can, wrap it in twine, or decorate as desired. Let any paint dry fully before proceeding.
- Add drainage layer (optional): Place a thin layer of small rocks or pebbles at the bottom to aid drainage.
- Fill with soil: Add potting soil, leaving about an inch of space at the top.
- Plant: Plant your chosen seeds or seedlings, gently patting down the soil around them.
- Water: Water lightly, allowing excess water to drain out through the bottom holes.
Herbs, succulents, and compact flowers thrive particularly well in tin can planters. If positioning the cans outdoors, consider using rust-proof tins or applying a protective spray finish to extend their lifespan. This DIY project not only brightens your garden but also promotes sustainability by giving everyday items a new lease on life.